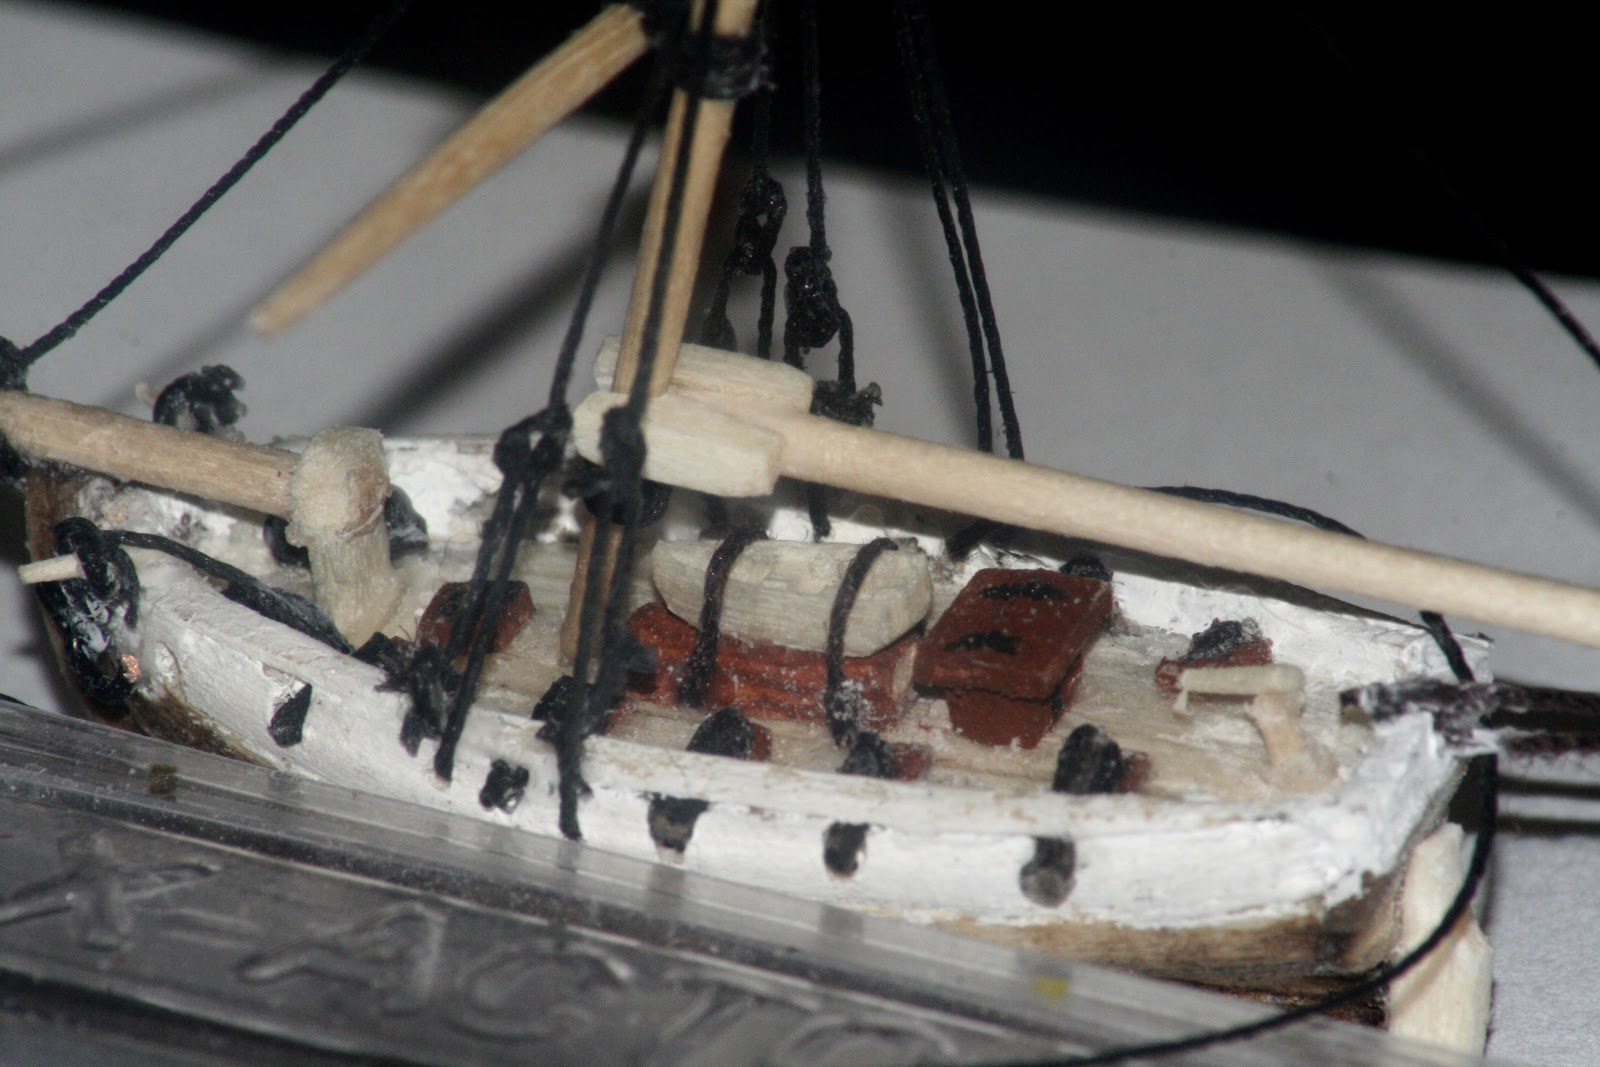
The group consists of mainly static ship builders which makes me the only SIB builder. This being the case they have asked that I give a presentation on SIB building at one of the monthly meetings. No pressure right?! I accepted and went to my SIB forums on Yahoo and Facebook for ideas. After some discussion I settled on the Yacht America. The America was the first winner of the One Hundred Pound Sovereign cup which was later renamed the America's Cup after the first ship to win it.

I will post more photo's of the ship it's self later. What I wanted to go over in this post is putting sea into a bottle. There are many ways of getting sea into a bottle. There are also ways of going with out it all together. In this post I'm going to describe the modeling clay method.
There are pros and cons to each method of putting sea in a bottle. Some of the con's of modeling clay is that it has a hard time sticking to the glass. For the most part this isn't a problem but I have had one or two bottles where the sea came dislodged and the ship and sea began bouncing around in the bottle creating a huge mess. One thing you can do is push it down hard and hope it sticks. Ninety percent of the time it will. Another method I've had success with is holding the bottle over a hot burner and melting the clay through the bottle. It only takes a few seconds over the heat to melt the clay enough that it sticks to the glass. Do one half of the bottle at a time use oven mitts and be careful not to burn yourself.
Another con I've had is the temptation to push the ship down into the clay and let the clay hold the ship. It worked a few times but for the most part the ship comes dislodged and again bounces around in the bottle. You have to glue your ship down no matter what. I use white glue since it doesn't fog up the glass. So far I haven't had any problems with it.
The pros of modeling clay is the shape ability of it. I have had a lot of fun shaping waves and white caps through out the bottle. Clay is relatively easy to move around and shape the way you want it. Also it doesn't stick all over your bottle like some putties do and what residue is left is easy to clean. Finally it doesn't take a whole lot of time depending on how much detail you put in it.
Ok enough jabbering on to the photos!

This is the bottle I'm going to use. It's a beer bottle I got from a friend. Nothing to special about it really.

I start by spreading the clay out to determine thickness and size. As with my ships I build big and cut small.

Here I have cut the sea to size. One important thing to note is the width of the sea. For bottles where the bottom is round like this one it's important to keep the width of the sea small. If the sea is wide it will curve up the sides of the bottle and potentially hide the hull of your ship. If the bottle is rounded keep the seas thin. Also ignore the match stick it's just keeping the bottle from rolling.

Next fold the clay so it will fit in the bottle. It's imprtant to simply fold and not push it together since you will be unfolding it in the bottle. Try and keep the sides from touching as much as possible.

Now put it in. This is the easiest part. Just slide it on in. It is important at this part to look at where the clay is going to rest. I don't like having the seam of the bottle obstructing the view of my ships so I turn the bottle so the seam runs across the top and bottom. Then position the clay over the seam.

Once the clay is in use a coat hanger to unroll it. I put a hook in mine and twist it back and forth until it come open. This will take some patience.

A good trick I do is once the clay is open far enough flip it over and push it down until it flattens. As soon as it's flat enough position it exactly where you want it.

The next step is to add the waves. I take my coat hanger and push down and back on the clay so it creates a little mound. Then I pull the top forward to shape a wave. Do this all over until you get the choppiness of the sea that you like.


Here's just a couple other angles of my now choppy sea.

Now to add the white caps. Get some white modeling clay an put a tiny amount on the end of your coat hanger.

Get it in the bottle and press it on to a wave or wherever you would like a white cap.

Use your hook to shape it until you get the look you like. Use the same push pull method to get a good wave look.

Now do it all over and get the sea to look the way you like it.

I forgot to add a space for my ship. Adding this space is easily done out side the bottle but can be done while it's inside as well. I used my coat hanger to pull the middle out. Once the ship is in I will push the sea into the sides until it looks right. I will also use some white clay to make the bow look like it's cutting through the water and to create a wake behind the ship.

Once the sea is done you can wipe down the inside of the bottle with a dry cloth to get out any residue left by the clay. I just put a cloth on the end of my coat hanger through a bit of a loop. Rebber bands work well to attach it too. I also wash the out side of the bottle and dry it with a dry cloth. Be careful not to get any water inside the bottle it can mess up your clay. Once the ship is ready your all set.
Thanks for reading!