Saturday, December 8, 2012

Rigging the Yacht America

With the presentation to the Rocky Mountain Shipwrights a week away the Yacht America is finished and ready to go.  I thought I'd take this opportunity to show her off and talk a little bit about rigging.


There are several ways to rig ships in bottles.  I chose the simplest form for the America which is the hinge method.

In this photo you can clearly see the hinge at the base of the mast.  This hing allows the masts fold back so that the ship fits in the bottle.  After the ship is in the forward stays are pulled tight raising the masts back into position.  There's a lot that goes into creating a ship that can do this but before I go over that I want to go over some very basic parts of rigging.

There are three basic parts of rigging.  The back stays the forward stays and the sheets.  The stays hold the masts straight up and down with the back stays pulling the masts backwards and the fore stays pulling them forwards.  The sheets move the sails in order to best catch the wind.

In building rigging in this method I recommend starting with the back stays.  To me these are the most important of the three.  They control not only the forward back ward angle of the mast but also the left and right.  The lines have to be precise or the ship will not look right.  If they are to loose the mast will lean forward.  If they are too tight they will lean backward.  If on side is to tight or to loose they will sit sideways.  You need to get it where you want it glue it down and hope it works.  They can try your patience a bit.

The next step is the fore stays.  These run from the top of the masts to the bow and out of the bottle.  They are then used to pull the masts up when the ship is in the bottle.  Once the mast's are in position the fore stays are glued down and cut as close to the bow as possible.  The tricky part about fore stays is getting them to run to a point where they can be easily cut and glued while in the bottle.  To do this you will either need to drill holes in the mast for the lines to run through or build thread blocks.  In my opinion thread blocks are the way to go.  It's hard to drill though a sanded toothpick and if your not careful the mast you spent all that time sanding and painting will break and you'll be starting all over making a new one.  Thread blocks eliminate this problem.  I've posted this link before but, in case you haven't seen it John Fox III, whose America ship in bottle I heavily based this one on, has posted a great video on how to create thread blocks.

http://vimeo.com/46158123

Finally the sheets.  In a real ship I dare say there is no such thing as a decorative rope.  Each line has a use and a purpose.  SIB's are different in that sheet's are typically decorative and serve no function in folding or unfolding the masts.  It is smart though to be aware of them while you build.  It's horrible not being able to fold your mast's back because a decorative sheet line got in the way.  Typically with SIB's the sheet's move to the back of the ship so they fold back with the masts.


It's important before building your rigging to have a plan especially when the rigging gets complex like a square rig or my recent stay sail schooner the Star Flyer.

  
I tried to make this picture as big as possible so you can see the details.  This is the rigging plan for the America.  Filled in circles are places where the lines are tied down to the masts.  Open circles are thread blocks.  Arrows are where the lines run out of the bottle.


The last thing I will talk about in this post is the flag.  Almost all pictures of the America I found have her flying a flag so I decided to include it.  I did a little research to make sure I had the right one.


The America won the America's Cup in 1851 which is also the year the US got it's 31st state.  So I did a little research and found a 31 star flag.  I then used Photoshop to create a version that could be folded in half.
I ran a line between to thread blocks and glued knot inside the fold of the flag.  This allows the flag to be raised or lowered to find the best look.  I personally like it raised high.  Here's a few other flags I've used in the past.  


Also the eagle on the back of the America.  


This one I glued on the back and painted around so it would blend in.  It will probably not be able to be seen after the ship is in the bottle but it's still a fun detail.  


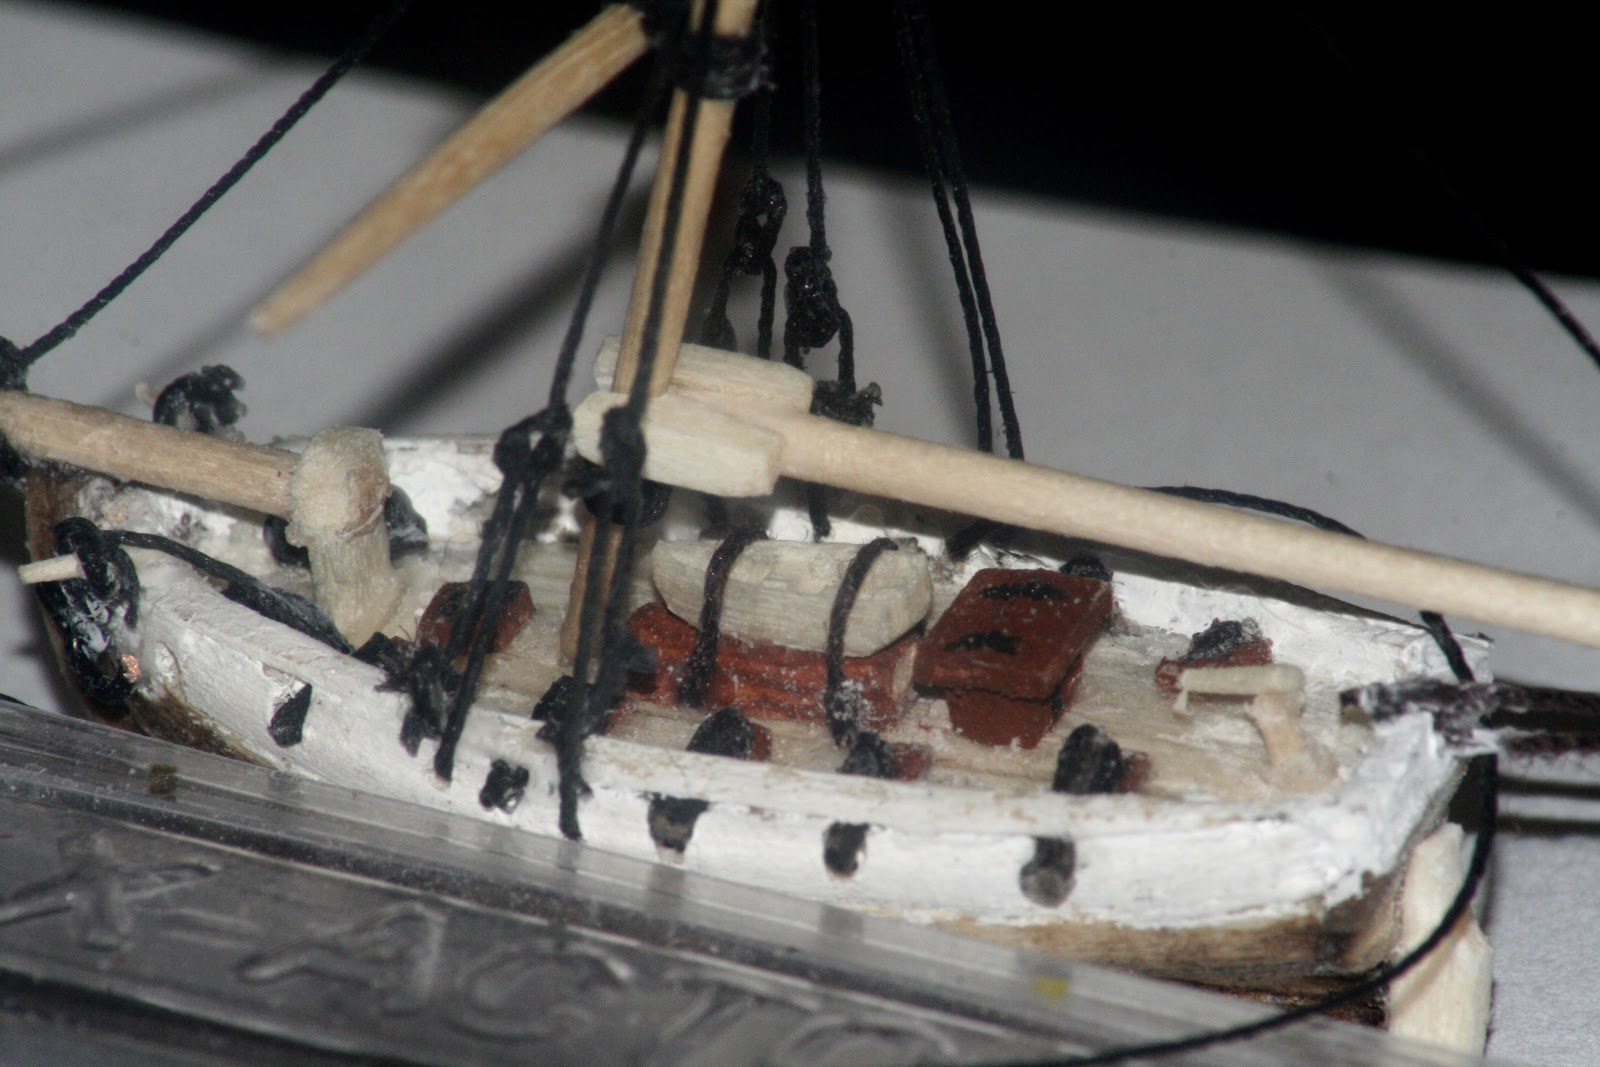
I also included some other details on deck including life boats and the iconic cockpit around the tiller the America is known for.  


Thank you for reading about my yacht America.  I will update this post after the meeting and include the finished bottled ship.  If your in the Denver area come join us on December 15th at Rockler Woodworking and Hardware. 2553 S. Colorado Blvd.  Denver CO 80222.  


Tuesday, November 20, 2012

On High Seas

I recently joined a ship building club in the Denver area and it has been a blast.  It's nice to find out there's people as crazy about ships as I am.  Here's their website for any one interested.  http://rockymountainshipwrights.org
The group consists of mainly static ship builders which makes me the only SIB builder.  This being the case they have asked that I give a presentation on SIB building at one of the monthly meetings.  No pressure right?!  I accepted and went to my SIB forums on Yahoo and Facebook for ideas.  After some discussion I settled on the Yacht America.  The America was the first winner of the One Hundred Pound Sovereign cup which was later renamed the America's Cup after the first ship to win it.


I will post more photo's of the ship it's self later.  What I wanted to go over in this post is putting sea into a bottle.  There are many ways of getting sea into a bottle.  There are also ways of going with out it all together.  In this post I'm going to describe the modeling clay method.  

There are pros and cons to each method of putting sea in a bottle.  Some of the con's of modeling clay is that it has a hard time sticking to the glass.  For the most part this isn't a problem but I have had one or two bottles where the sea came dislodged and the ship and sea began bouncing around in the bottle creating a huge mess.  One thing you can do is push it down hard and hope it sticks.  Ninety percent of the time it will.  Another method I've had success with is holding the bottle over a hot burner and melting the clay through the bottle.  It only takes a few seconds over the heat to melt the clay enough that it sticks to the glass.  Do one half of the bottle at a time use oven mitts and be careful not to burn yourself.

Another con I've had is the temptation to push the ship down into the clay and let the clay hold the ship.  It worked a few times but for the most part the ship comes dislodged and again bounces around in the bottle.  You have to glue your ship down no matter what.  I use white glue since it doesn't  fog up the glass.  So far I haven't had any problems with it.

The pros of modeling clay is the shape ability of it.  I have had a lot of fun shaping waves and white caps through out the bottle.  Clay is relatively easy to move around and shape the way you want it.  Also it doesn't stick all over your bottle like some putties do and what residue is left is easy to clean.  Finally it doesn't take a whole lot of time depending on how much detail you put in it.

Ok enough jabbering on to the photos!


This is the bottle I'm going to use.  It's a beer bottle I got from a friend.  Nothing to special about it really.


 I start by spreading the clay out to determine thickness and size.  As with my ships I build big and cut small.


Here I have cut the sea to size.  One important thing to note is the width of the sea.  For bottles where the bottom is round like this one it's important to keep the width of the sea small.  If the sea is wide it will curve up the sides of the bottle and potentially hide the hull of your ship.  If the bottle is rounded keep the seas thin.  Also ignore the match stick it's just keeping the bottle from rolling.


Next fold the clay so it will fit in the bottle.  It's imprtant to simply fold and not push it together since you will be unfolding it in the bottle.  Try and keep the sides from touching as much as possible.


Now put it in.  This is the easiest part.  Just slide it on in.  It is important at this part to look at where the clay is going to rest.  I don't like having the seam of the bottle obstructing the view of my ships so I turn the bottle so the seam runs across the top and bottom.  Then position the clay over the seam.


Once the clay is in use a coat hanger to unroll it.  I put a hook in mine and twist it back and forth until it come  open.  This will take some patience.


A good trick I do is once the clay is open far enough flip it over and push it down until it flattens.  As soon as it's flat enough position it exactly where you want it.


The next step is to add the waves.  I take my coat hanger and push down and back on the clay so it creates a little mound.  Then I pull the top forward to shape a wave.  Do this all over until you get the choppiness of the sea that you like.  


Here's just a couple other angles of my now choppy sea.


Now to add the white caps.  Get some white modeling clay an put a tiny amount on the end of your coat hanger.


Get it in the bottle and press it on to a wave or wherever you would like a white cap.


Use your hook to shape it until you get the look you like.  Use the same push pull method to get a good wave look.


Now do it all over and get the sea to look the way you like it.


I forgot to add a space for my ship.  Adding this space is easily done out side the bottle but can be done while it's inside as well.  I used my coat hanger to pull the middle out.  Once the ship is in I will push the sea into the sides until it looks right.  I will also use some white clay to make the bow look like it's cutting through the water and to create a wake behind the ship.


Once the sea is done you can wipe down the inside of the bottle with a dry cloth to get out any residue left by the clay.  I just put a cloth on the end of my coat hanger through a bit of a loop.  Rebber bands work well to attach it too.  I also wash the out side of the bottle and dry it with a dry cloth.  Be careful not to get any water inside the bottle it can mess up your clay.  Once the ship is ready your all set.

Thanks for reading!


Thursday, November 1, 2012

The Fly Cutter

I recently completed a ship from The Story of Sail by Richard Woodman and Veres Laszlo.  The Fly was a ship purchased in 1763 by commissioned by the British Navy to catch smugglers on the English Channel. The large sails made her able to move swiftly in light winds.  I would post a picture of the plans but I really don't want to infringe on any copy rights.  I do however highly suggest you check out the book Story of Sail. It has a over a thousand plans and great ideas from the beginning of sailing history to modern day.


I used a couple of new techniques on this one first of which was how I created the hull.  Usually I carve the hull from a solid piece of wood but this time I tried an idea from David Luna de Carvalho.  Check out his blog here.  http://mardasgarrafas.blogspot.com

I first made a copy of the plans out of the Story of Sail and glued them onto pieces of cardboard.  I would have used wood but I didn't have enough at the time.  I glued the pieces of cardboard onto a wooden keel and this is what I got.


I then used match sticks to plank the hull like what was done on the real ship.  The trick is using an exacto knife to cut the match sticks thin.  Then soak them in water so they become pliable.  Once they started bending pretty well I glued them to the card board.  After I got the planking was done I cut out the middle of the card board and planked the deck.  


After getting the deck in I added the masts and deck details.  At first I planned on using a helm but David pointed out that cutters have tillers so I later changed it out.  Helps to have friends that know what their doing.


The other new technique I used is called thread blocking.  Since it's impossible to find block and tackle small enough for a ship of this scale thread blocks are created to act as such.  It's hard to explain how to do this with out being able to see it.  Luckily John Fox III created a great video that shows how to make them and how they work.  I was going to embed the video but it's on Vimeo and wouldn't cooperate.  See it by clicking this link.  http://vimeo.com/46158123


Notice the long boat from my other post.  Ready the Longboats!


I used thread blocks on the bow and to rig the gaff and boom to the main mast.  I ran the gaff and boom line out the side of the hull.  This allowed me to put the rear sail into the bottle first.  Once the mast was up I tightened the lines pulling the boom and gaff onto the mast.  It sounds simple enough in theory but it took an hour to do just that.  In total it took three hours to get this ship set up in the bottle.  The final result was well worth it.


I wish I could show more but I sometimes get too involved building to take pictures.  Thank you for reading!  

Friday, October 19, 2012

Ghost Ship in a Bottle

I've completed two ships since my last post so I thought it's about time to post something about one of them.  This one comes by popular demand.  The Ghost Ship in a Bottle.


 I came up the idea while on the yahoo forum.  Some one mentioned lighting a ship up with UV lights.  I decided to explore the idea.  I talked to a friend who had some UV LED's and we found that the purple tinted UV lights will not show through a dark root beer bottle but the light bouncing off of a white surface will.  So then I took it a step farther and used glow in the dark paint which lights up quiet nicely under the UV light.

I didn't get any pictures of the ship before I put her in the bottle.   The build went fast since I wasn't worried about to many details.  So assuming you've already built your ship paint it with glow in the dark paint.  I just got some acrylic paint from Walmart for two or three bucks and it works great.  I painted almost everything. The sails, the lines, the hull, the masts.  The only thing I didn't paint were the cannons and the anchor on the front.  The idea behind this was to let the light around it glow and the cannons and anchor would appear as just a silhouette creating a more dramatic look.  As you can see the anchor worked fine but with out a second LED behind the ship the cannons are out of sight.

Another part of building this ship was the holes in the sails.  I used a canvas type cloth for the sails. Pinching small sections I used scissors to cut holes and give it the well weathered ragged look.  I then just let it fray as canvass does and painted it all in glow in the dark paint.  


Now the fun part.  How to make it work.  First get yourself some UV LED's.  I just went to Radio Shack.  They were helpful in letting me know what I needed.  If you want them cheap go on eBay.  You can buy 300 for less then $5.  I don't know if some are better then others I just made sure they were Ultra Violet LED's.


Along with your LED's you will need a power source.  You will have to check the specifications of your LED's to see whats right for what you have.

You will also need a resistor.  Chances are your LED will be like mine and it won't light until it hits 3.7 volts.  Now try to find a 3.7 volt battery but don't go over the highest specification which is under 6.  Doing so will burn out your LED.  Since there was no such battery so I got a six volt battery and used a resistor to bring it down to the required maximum voltage.  Here's a tool to help you do that. http://ledcalculator.net/

I then searched YouTube to help me figure out how to put everything together.  Here's the video I used.  It's a bit long so skip to the parts you need.  The important thing is he helps you understand how to identify the negative and positive parts of an LED and where the resistors should go.  Best place to start is the two minute 21 second mark.


Now that you've got the wiring figure out it's time to build it into the bottle.  I decided to use the cork to hold my battery and my LED in place.


Here you can see the wire that connects to positive side of that battery and completes the circuit.  It's a very crude method but it works.  Some one with more skill and means can definitely make an improvement.


 A few more shots to give you an idea of how I put it together.


My original plan was to put an LED behind the ship as well so it would be lit from two sides showing front and back.  I got it for about two seconds before I lost the connection.  I'll keep trying.  Some one suggested drilling holes in the bottle with a ceramic drill bit.  I may try that.  With or with out the other LED I think she looks great.  The light you see around the ship is white caps I painted with the glow in the dark paint.  I tried to make the sea stand out a little.

   
She definitely stands out in the collection.


  My wife is currently writing a short story behind the Ghost Ship in the Bottle.  Once it's finished she may post it to her writing blog.  To read her blog please go here. The Ghost Ship in a Bottle

If you do plan on building a ghost ship in a bottle I would love to know how it turns out.  Email me a picture at siemensbottleingco@gmail.com.  Thank you for reading!